Setting up a build to deploy a site package
Applies to
All versions of Akumina
Overview
This article describes how to create a build pipeline to deploy an Akumina Site Deployer package. For more information on a Site Deployer package, please see the References section below.
To create a build
Go into Azure DevOps for the project you want. In our example we will use the code located in the TFS path:
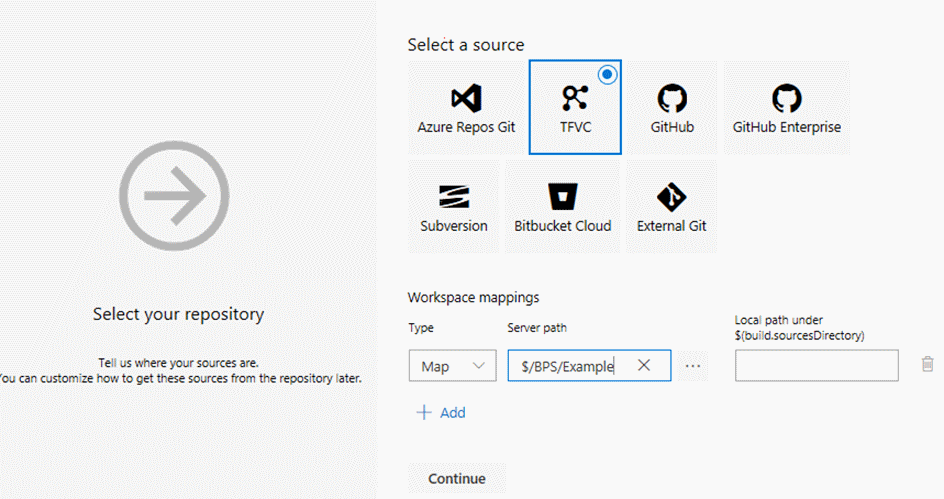
$/BPS/Example/
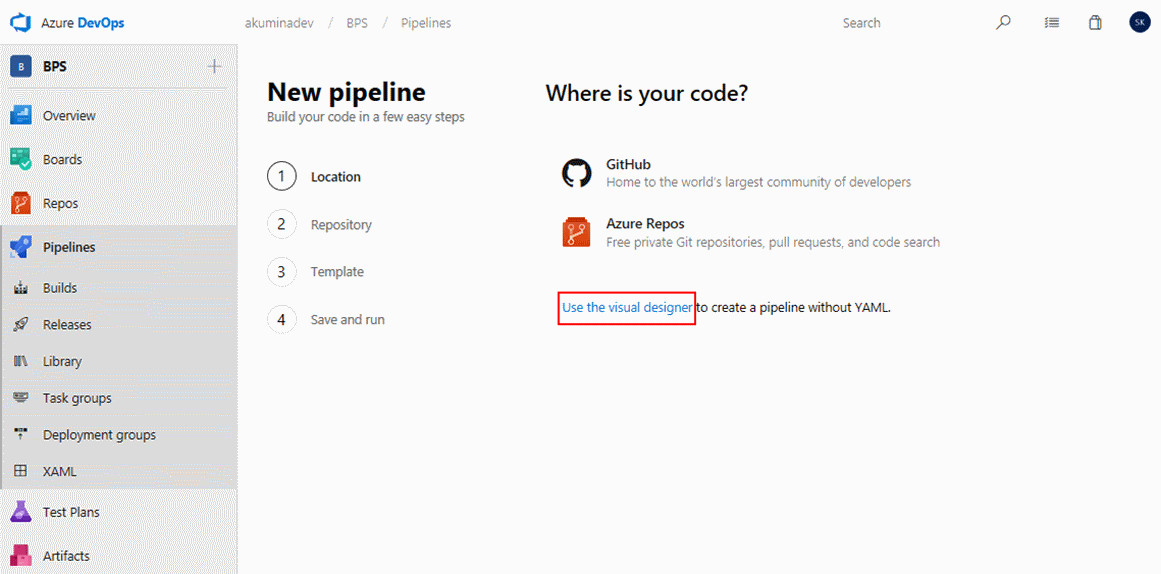
Go to Pipelines -> Builds. Click New pipeline.

For our example we have code in TFS, so we use the visual designer option.
Select TFVC as the source, and then enter in the TFS path:
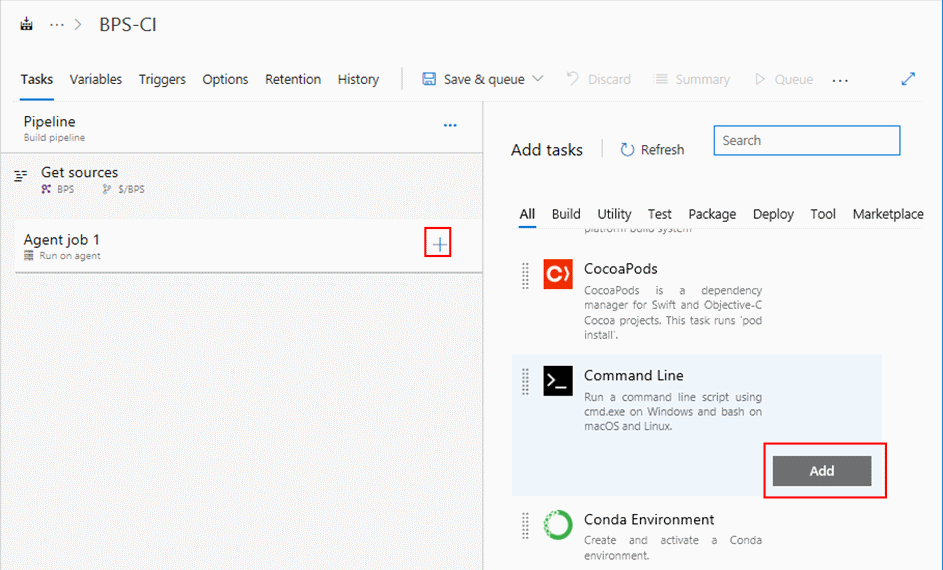
In the Build definition, click the plus icon (+) to add under Agent job 1. Then select Command Line from the list.
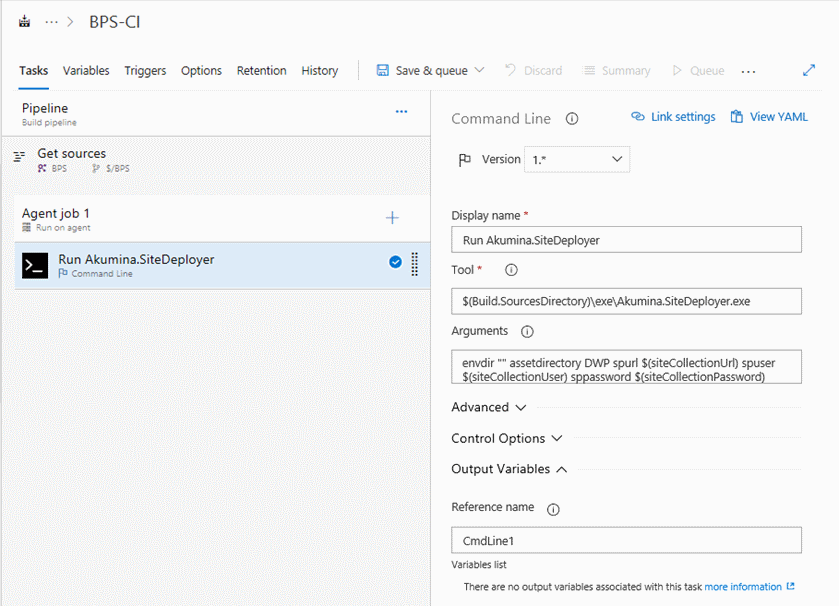
In the command line option, please enter in the properties for the site deployer. Assuming you placed the site deployer at the root of the build (as instructed to earlier), then the following values will be used:
| Property | Value |
|---|---|
| Display name | Run Akumina.SiteDeployer |
| Tool | $(Build.SourcesDirectory)\tools\Akumina.SiteDeployer.exe |
| Arguments | options lists envdir "" assetdirectory DigitalWorkplaceCore spdirectory DigitalWorkplace spurl $(siteCollectionUrl) spuser $(siteCollectionUser) sppassword $(siteCollectionPassword) |
| Reference name | CmdLine1 |
The options value above indicates what we want to deploy. In our example, we only have lists.
The assetdirectory value above depends on the name of your folder in the /sitedefinitions/ folder. See the Site deployer documentation for more information.
In order to run, the deployer needs variables such as the site collection URl, username and password. We need to add the following:
| Property | Description |
|---|---|
| siteCollectionUrl | The site collection URL to deploy to. |
| siteCollectionUser | The user to be used to connect to the site collection. |
| siteCollectionPassword | Locked value - The password of the user to be used to connect to the site collection. |
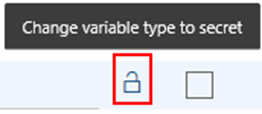
Note the siteCollectionPassword value should be LOCKED:
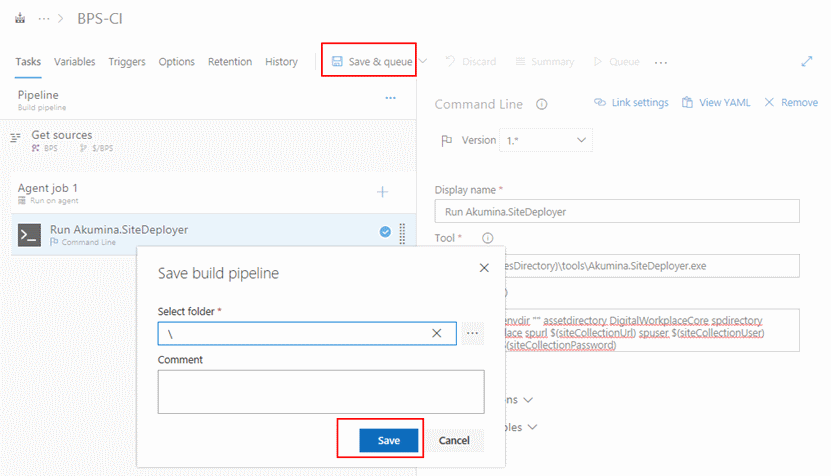
With the actions and the variables saved, we then need to Save. Click Save on the “Save build pipeline” dialog.
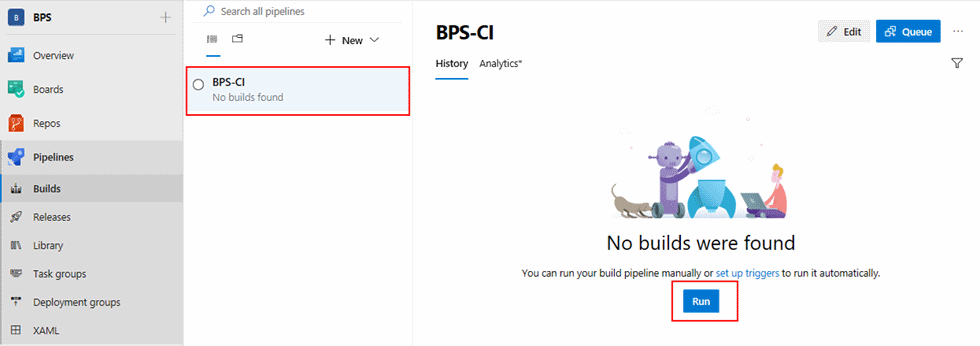
Once we save, we can then run the build – go back to builds, and either Run or Queue the build.
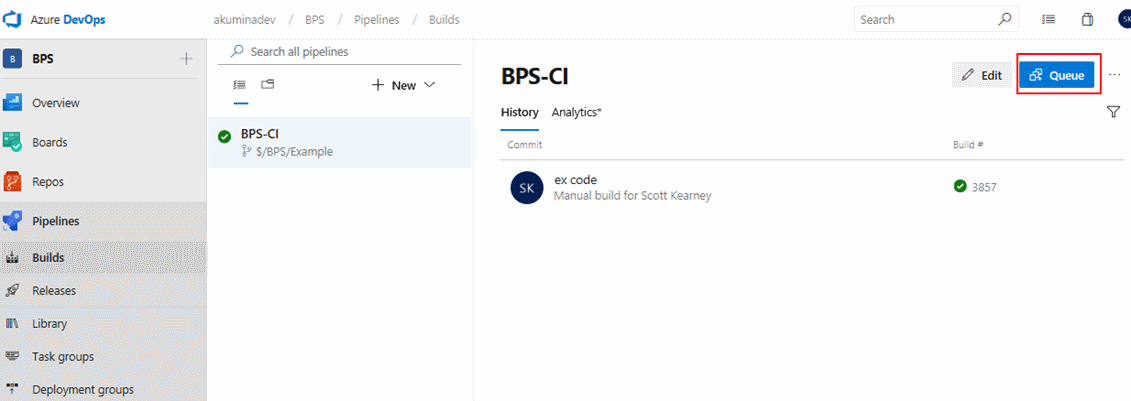
We can then separately queue up the build to run later, by returning to Pipelines -> Builds, and clicking the build. We can then queue it via the Queue button.
After the build runs, we will see its status.

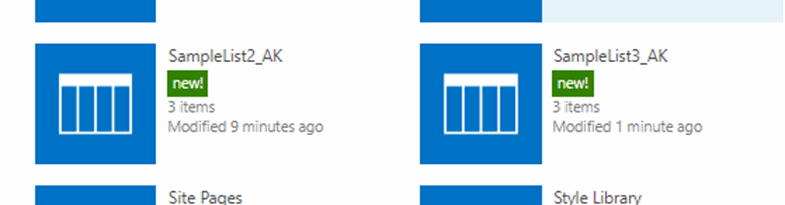
And we can see the artifacts deployed into the site collection.
Deploying widgets
To deploy widget, add a few other tasks prior to the site deployer call to build and package the widgets:
| Task | Display Name | Properties |
|---|---|---|
| Node.js tool installer | Use Node >=8.9.1 | Version Spec: >=8.9.1 |
| Npm | npm install | Command: install |
| Npm | npm build | Command: custom |
| Command and arguments:run build | ||
| npm | npm package | Command: custom |
| Command and arguments:run package |
And then you would use either a command line for the site deployer call (shown above), or a "Publish build artifacts" to a drop, which can then be used in a release pipeline.
Copy and Publish artifacts
Next we add in a Copy Files task - this copies the files we want into a temporary location.
| Property | Value |
|---|---|
| Display name | SP Central Site files |
| Source Folder | build |
| Contents | ** |
| Target Folder | $(Build.ArtifactStagingDirectory)/$(Build.DefinitionVersion) |
Then we add a Publish build artifacts task to place the artifacts into a build drop. This we can use later as part of a more complete build and release process - in our example we will just set it up without using it.
| Property | Value |
|---|---|
| Display name | Publish Artifact: Headless $(Build.DefinitionVersion) |
| Path to publish | $(Build.ArtifactStagingDirectory)/$(Build.DefinitionVersion) |
| Artifact name | Headless $(Build.DefinitionVersion) |
Deploying the artifacts via the site deployer
Using a build drop, we can easily use that build in a release pipeline, which allows us to control exactly when and where the changes go.
We would want to simply upload the files, so in our example we next select Command Line from the list.
In the command line option, please enter in the properties for the site deployer. For our example, the following values will be used:
| Property | Value |
|---|---|
| Display name | Deploy |
| Tool | $(Build.SourcesDirectory)\tools\Akumina.SiteDeployer.exe |
| Arguments | options widgets assetdirectory Client clientid $(clientid) clientsecret $(clientsecret) spdirectory DigitalWorkplace spurl $(centralurl) ml true |
The options value above indicates what we want to deploy. In our example, we use widgets to deploy the widgets to the SharePoint site.
The assetdirectory value above depends on the name of your folder in the /sitedefinitions/ folder. See the Site deployer documentation for more information.
The deployer needs variables to connect to the SharePoint site; We need to add the following (see also https://akumina.github.io/docs/Site-Deployer-Version-5-0)
| Property | Description |
|---|---|
| clientid | Sharepoint app client id |
| clientsecret | Sharepoint app client secret |
| centralurl | The central site url for widget deployment |
With the actions and the variables saved, we then need to Save. Click Save on the “Save build pipeline” dialog.
Once we save, we can then run the build – go back to builds, and either Run or Queue the build pipeline, and when complete will see widgets deployed to the central SharePoint site.
References: